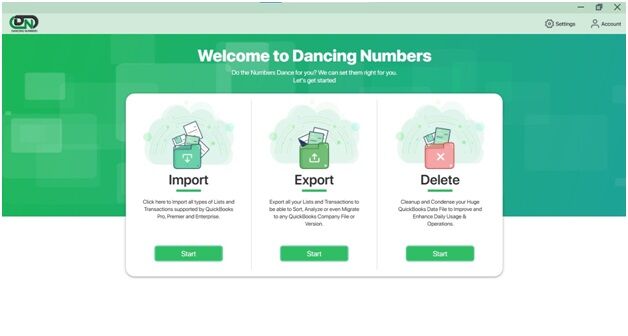
Now users can import the file transactions or lists to the QuickBooks on Dancing Numbers (Desktop) following three easy steps through a simple import wizard. Go through the steps mentioned below one by one.
Our automated tools help bypass common export errors like the ‘hidden module’ compile failure often seen in native QuickBooks exports.
Step-1: File Selection
- First of all, click on Import button and select the File which is already saved on your computer.
- In next step, select the Excel to be use, also select required QuickBooks transaction or list type (supported by QuickBooks)

- Proceed with clicking next. Once you click Next you will get a message to read on, just read the message carefully and click OK to the message
- In the next screen you will see the File Preview to confirm the data which you want to import.
- After checking the File Preview window, press the Next button.
Step-2: Mapping
- Once the file is uploaded, you will be able to see mapping screen window on your screen.

- Now, specify the mapping of the File Columns and QuickBooks Fields.
- In this screen left side contains QuickBooks fields and right side contains import File columns
- Select the fields respectively as per the QuickBooks fields
- Click Load map or field match button
- Then click on Next and you will see the below screen
Step-3: Review & Import
- After completing mapping, you will be led to the Review & Import screen.
- Just make the necessary changes before importing on the Next screen and after that click Next to start the Import process.
- Now you will get a message, just click OK to the message and you will be going to start import data to QuickBooks.
- After the file successfully imported, a summary screen will shown to you with the final results. You can check the data for imported transaction/ list in QuickBooks.
The same import wizard can also be used for specialized accounting imports. If you’re migrating complete accounting records, follow our detailed guide to Import General Ledger into QuickBooks for proper file preparation, field mapping, and validation.
Dancing Numbers simplifies the data entry process and helps you fix QuickBooks Error 3120 by validating your account mappings automatically.
Accounting Professionals, CPA, Enterprises, Owners

Looking for a professional expert to get the right assistance for your problems? Here, we have a team of professional and experienced team members to fix your technical, functional, data transfer, installation, update, upgrade, or data migrations errors. We are here at Dancing Numbers available to assist you with all your queries. To fix these queries you can get in touch with us via a toll-free number
+1-800-596-0806 or chat with experts.

