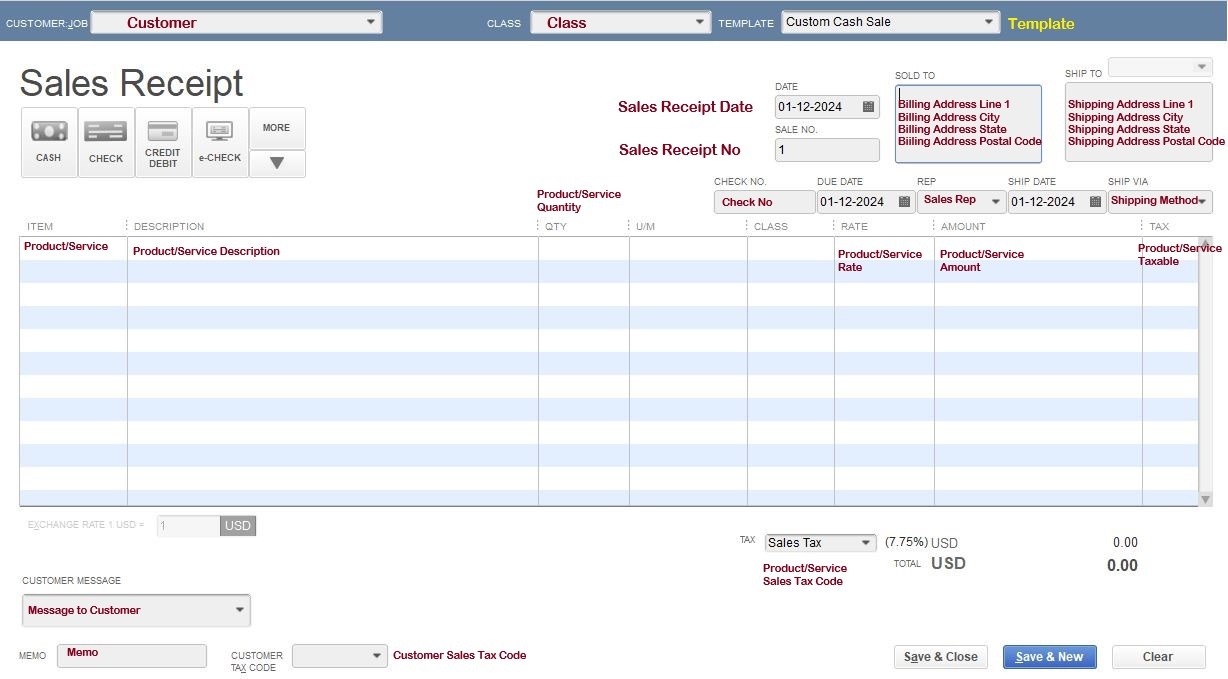
Before you continue with how to import sales receipts into QuickBooks Desktop, let’s take a look at what a sales receipt is. In simple words, a sales receipt is nothing but a document that provides you a detailed description of the services and products to your customers that buy from you. When you create a sales book in QuickBooks, both the checking and the income account are affected.
Dancing Numbers helps small businesses, entrepreneurs, and CPAs to do smart transferring of data to and from QuickBooks Desktop. Utilize import, export, and delete services of Dancing Numbers software.
Steps to Create QuickBooks Sales Receipt
It is also necessary to know the procedure of creating a Sales Receipt in QuickBooks. Here are the steps that help you to create a sales receipt:
- Initially, click on the + menu and select the sales receipt
- Next, enter the customer information after opening the sales receipt
- You can enter the customer name using the drop-down menu
- In case, if you already have the details of the customer
- If you don’t have then you need to add it by filling the appropriate details and allow the software to do its job
- Now, enter the billing address
- If you already have the customer details in your QuickBooks then it automatically updates it
- Along with that, you have to enter the date of sales receipt
- Using the drop-down menu, select the appropriate payment method which is convenient for you
- Also, enter the payment reference number
- After that, complete the description field as well
- If any other necessary information required just fill them out
- Once done then click on the print preview
- Verify the preview to make sure that there are no mistakes and send your receipt to your customer.

📣 Important note: Always remember to record the deposit.
However, you can import sales receipts into QuickBooks from Excel spreadsheets or from text files. Let’s see the import steps.
Ways for How to Import Sales Receipts into QuickBooks Desktop
If you have been monitoring your sales receipts using excel before choosing to use QuickBooks, your current data can be imported into your QuickBooks. This feature makes keeping track of your sales receipts simple, rather than re-entering them.
Follow the Steps to Import it:
- The very first, launch QuickBooks and then go to the File menu
- Next, go to the utilities and then select import using the drop-down menu
- After that, choose the excel files
- Hit on the browse and then choose the desired excel files that you wish to import
- Choose a sheet using the drop-down menu from the excel work appears
- And then choose the preferred sheet that you wish to import
- Check the box next to the data file if it contains a header
- Using the drop-down option, choose the mapping and then add new
- Put the name for the mapping and then select the import type for mapping
- After that, select a field in order to map your column
- Click on the space next to a field and choose as per your choices by making using of the drop-down menu
- In order to map other columns then repeat the same process
- And finally, save them.
Sometimes, retail-type companies use a Point of Sale (POS) program that does not integrate with QuickBooks Desktop and look for a simple way to document a daily overview of sales and payment activities. They can do such activities by importing their sales receipt directly to QuickBooks. With the help of the above-mentioned steps for how to Import Sales Receipts into the QuickBooks Desktop, they can make their task much easier.

Looking for a professional expert to get the right assistance for your problems? Here, we have a team of professional and experienced team members to fix your technical, functional, data transfer, installation, update, upgrade, or data migrations errors. We are here at Dancing Numbers available to assist you with all your queries. To fix these queries you can get in touch with us via a toll-free number
+1-800-596-0806 or chat with experts.


 +1-800-596-0806